

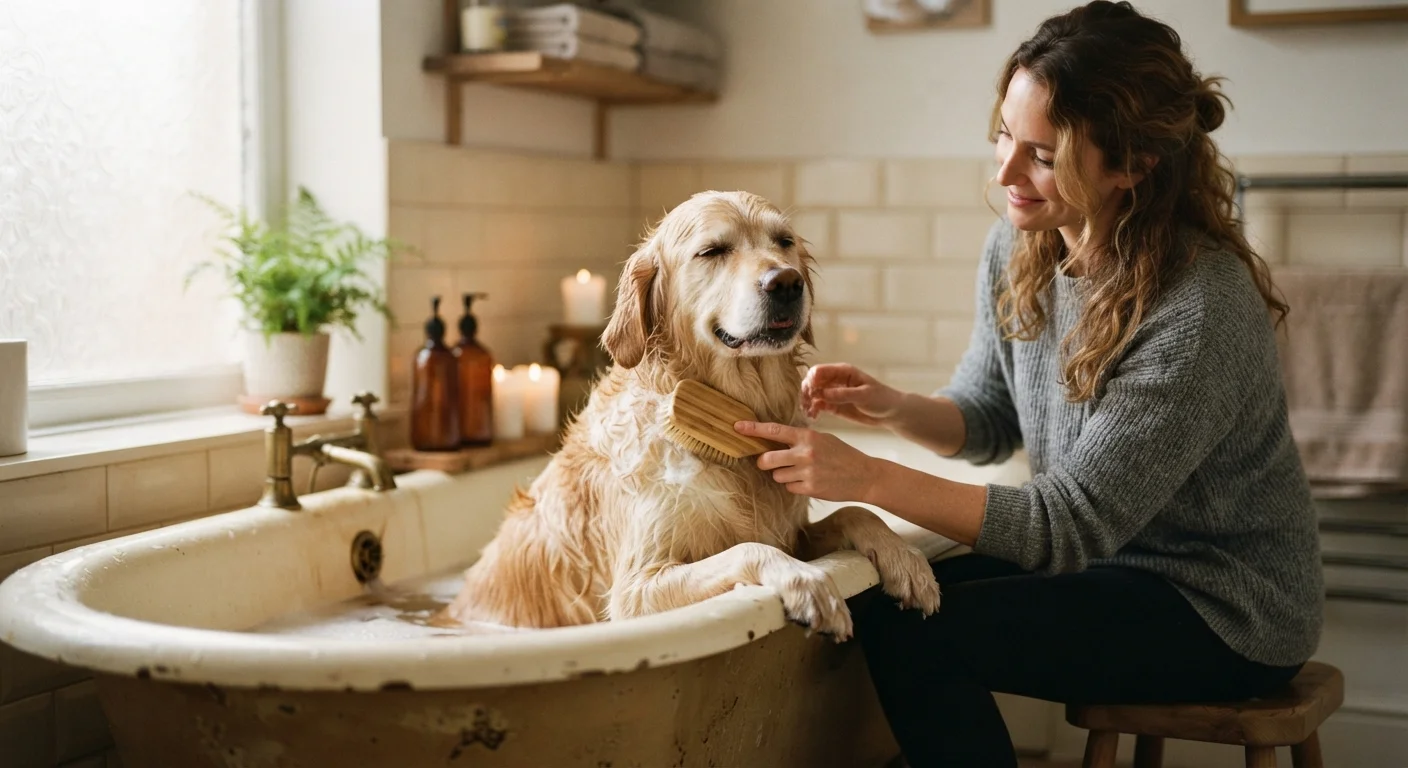
Why Home Grooming Matters Beyond Cleanliness
Regular grooming does more than keep your dog looking tidy — it protects skin health, reduces shedding, and gives you routine, hands-on access to your dog's body. Many health concerns, from skin infections to early ear problems, are first discovered during grooming. Consistent handling also builds trust, which pays off during veterinary exams and stressful situations.
How often you groom depends heavily on coat type. Short-coated breeds may only need a bath once a month and occasional brushing, while long-coated or double-coated breeds typically require brushing several times a week and more frequent baths. If you're still settling into life with a new dog, our guide on bringing a dog home for the first time covers how to establish early routines that make grooming feel natural from the start.
What you will need
Slicker brush or deshedding brush
Removes loose fur, detangles, and distributes coat oils before and after bathing.
Dog-formulated shampoo
Cleanses the skin and coat without disrupting the dog's natural pH balance — human shampoo is too harsh.
Dog nail clippers or nail grinder
Trims nails to a safe length to prevent discomfort, joint strain, and floor damage.
Styptic powder
Stops minor bleeding quickly if you accidentally trim a nail too short and nick the quick.
Vet-approved ear cleaning solution
Loosens debris and wax inside the ear canal without causing irritation.
Non-slip bath mat
Prevents slipping in the tub or sink, keeping your dog calmer and safer during the bath.
Handheld shower attachment or pitcher
Allows controlled rinsing that avoids getting water in ears or eyes.
Step-by-Step: The Full Home Grooming Routine
Follow these steps in order for a complete grooming session. You don't need to do everything in one sitting — especially early on, breaking tasks across two days can reduce stress significantly for both dog and owner.
Set up a calm, prepared grooming space
Gather every tool you need before bringing your dog into the room. Dogs pick up on your energy, so rushing to find supplies mid-session increases anxiety. Lay out treats, close the bathroom door, and place a non-slip mat in the tub. Keep the water temperature lukewarm — test it on the inside of your wrist.
Brush before bathing
Always brush your dog thoroughly before getting them wet. Water causes mats to tighten and become almost impossible to remove without cutting. Work section by section from the head toward the tail, holding the coat close to the skin so you're not yanking. Pay extra attention to common mat zones: behind the ears, under the armpits, and around the collar area.
Bathe and rinse thoroughly
Wet your dog's coat completely, starting from the neck and working down — keep the face dry for now to reduce head-shaking. Apply a dog-formulated shampoo, lather from neck to tail, then tackle the face last with a damp cloth rather than direct water. Rinse until the water runs completely clear; leftover shampoo can irritate the skin and cause flaking. Finish with conditioner if your dog's coat is prone to dryness or tangling, and rinse again.
Dry gently and completely
Towel-dry first, pressing rather than rubbing (rubbing encourages tangles). If using a blow dryer, use the lowest heat setting and keep it moving — holding it in one spot can burn skin. Many dogs are frightened by dryer noise initially, so introduce it gradually with treats. Dogs with thick undercoats must be dried fully to prevent hot spots, which are moist skin lesions caused by trapped moisture.
Trim the nails
Identify the quick — the pink blood vessel visible in light-colored nails — and clip just below it. In dark nails, clip small slivers at a time until you see a gray or black dot in the center of the cut surface; that signals you're close to the quick. Use swift, confident cuts rather than slow squeezing, which can crack the nail. Give a treat after each paw, not just at the end.
Clean the ears
Squeeze a small amount of vet-approved ear cleaning solution into the ear canal, then gently massage the base of the ear for about 20–30 seconds — you'll hear a squishing sound as debris loosens. Let your dog shake their head, then wipe away visible wax and discharge with a cotton ball. Never insert cotton swabs into the canal; this can push debris deeper and cause injury.
Build the Habit Gradually
If your dog is new to home grooming, start with just one task per session — perhaps only brushing this week, only nail touches next week. Short, positive exposures repeated over time build far more tolerance than a single overwhelming all-in-one session. Pair every step with calm praise and treats so your dog learns that grooming predicts good things.
Grooming is also a natural entry point into your dog's broader preventive health habits. For a fuller picture of year-round care, including dental hygiene and parasite prevention, see our article on building a preventive care routine for your dog.
Grooming Is a Health Check Too
Every grooming session is an opportunity to scan your dog's body for changes. Run your hands over the skin looking for bumps, rashes, or parasites. Check the eyes for unusual discharge and the mouth for gum color changes. Early detection of physical changes can make a meaningful difference in outcomes — see our guide on dog health red flags for what to watch for.
Troubleshooting Common Grooming Challenges
Even patient, treat-motivated dogs have off days. Here are practical responses to the most common grooming hurdles:
- Dog pulls away from nail trimming: Desensitize gradually by touching paws frequently throughout the day — not just at trimming time. Try a lick mat smeared with peanut butter as a distraction during the actual trim.
- Dog won't stay still in the tub: A non-slip mat is often the game-changer. Many dogs resist bathing simply because the slippery surface makes them feel unsafe.
- Mat-prone coat: If you encounter a severe mat, do not yank. Work a detangling spray into the mat and tease it apart with your fingers before using a comb. If the mat is tight against the skin, a professional groomer or vet should remove it safely.
- Excessive ear wax or odor: This is not something to treat at home with over-the-counter remedies without a veterinary diagnosis. Ear infections require proper identification of the underlying cause — bacterial, yeast, or parasitic — before treatment.
Know When to See a Professional
Home grooming is a great supplement to, not always a replacement for, professional grooming — particularly for breeds with complex coat types like Poodles, Cocker Spaniels, or double-coated working breeds. If you notice unusual lumps, persistent skin redness, foul-smelling ears, or nails that have overgrown into the paw pad, consult your veterinarian before attempting home treatment.
This article is for general informational and educational purposes only. It is not a substitute for professional veterinary advice. Always consult your veterinarian regarding your dog's specific health, grooming needs, or any concerns that arise during home care.
The content provided on our blog site traverses numerous categories, offering readers valuable and practical information. Readers can use the editorial team’s research and data to gain more insights into their topics of interest. However, they are requested not to treat the articles as conclusive. The website team cannot be held responsible for differences in data or inaccuracies found across other platforms. Please also note that the site might also miss out on various schemes and offers available that the readers may find more beneficial than the ones we cover.