

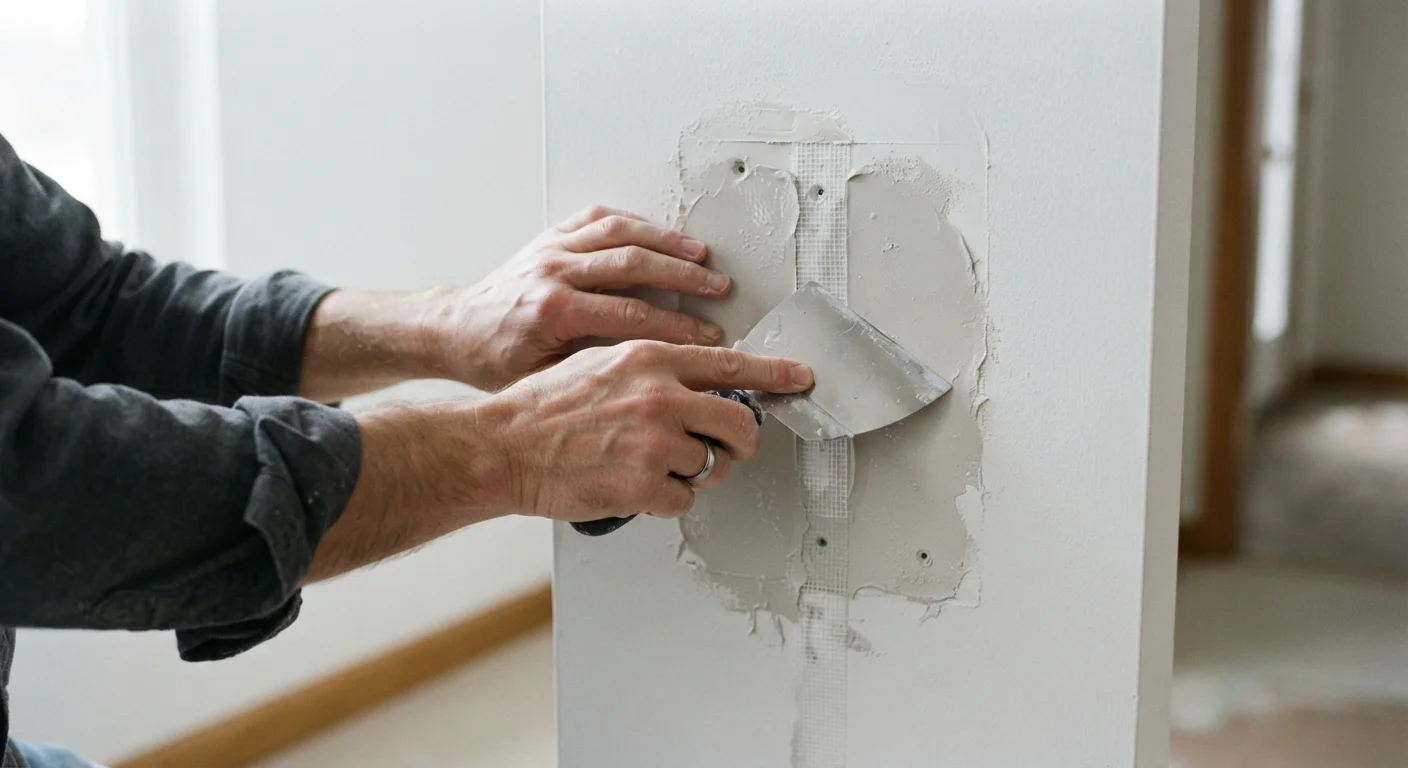
Why Drywall Patches Fail—and How to Change That
A drywall patch that cracks, bubbles, or telegraphs through fresh paint is one of the most frustrating home repair outcomes. You did the work, bought the supplies, and still ended up with a visible flaw. In most cases, the failure traces back to a handful of predictable mistakes rather than bad luck or lack of skill.
The good news: drywall repair is genuinely learnable for most homeowners. The tools are inexpensive, the materials are widely available, and the techniques—once understood—are straightforward. The key is knowing which steps most people skip and why those shortcuts always cost more time in the end. Just as skipping routine maintenance leads to bigger automotive problems, cutting corners on prep and process almost always turns a simple patch into a redo.
Skipping surface preparation before applying any compound.
Why it happens: Most people want to get to the visible fix quickly and underestimate how much loose paper, dust, or grease affects adhesion.
Applying one thick coat of joint compound instead of multiple thin coats.
Why it happens: A single heavy coat looks covered immediately, which feels efficient—but the exterior dries much faster than the interior, causing cracking and shrinkage.
Choosing the wrong type of joint compound for the job.
Why it happens: Hardware stores carry setting-type compounds (which harden by chemical reaction) and drying-type compounds (which harden by evaporation), and many homeowners grab whichever is nearest.
Patching a hole without installing proper backing support.
Why it happens: For small holes under about half an inch, self-adhesive mesh patches can work on their own. But for larger holes, many homeowners still try to span the gap without rigid backing, leaving the patch free to flex.
Sanding too aggressively or not enough, then painting immediately.
Why it happens: Impatience after the compound dries leads either to over-sanding (cutting into the paper face of surrounding drywall) or under-sanding (leaving ridges visible under paint).
Finishing Right: Primer, Paint, and the Final Check
After sanding, run your hand lightly across the repair. It should feel flush with the surrounding wall and transition without a noticeable edge. Hold a work light at a shallow angle to the wall surface—this raking light technique reveals ridges, divots, or texture mismatches that flat overhead lighting hides entirely.
Don't Paint Over Damp Compound
Applying paint before joint compound is fully dry traps moisture beneath the surface, leading to bubbling, cracking, and adhesion failure. Compound changes from a pinkish tone to a uniform bright white when it has dried completely. Do not rely on touch alone—press the center of the patch gently; if it feels cool or soft at all, wait longer before sanding or priming.
Once the surface passes inspection, apply a coat of drywall-specific primer before any paint goes on. Joint compound is porous and will absorb paint differently than the surrounding wall, causing the repair to show as a dull spot or slight shadow even under multiple finish coats. Priming seals the compound and creates a uniform base.
If your walls have a textured finish—orange peel, knockdown, or skip-trowel—match the texture before priming. Applying texture after the fact is possible using aerosol texture sprays or a brush technique, but practice on cardboard first to dial in the pattern. A seamless blend is the goal; a patch that's smooth on a textured wall is nearly as visible as the original damage.
For guidance on related finishing decisions, such as choosing the right gap filler for trim and tile areas, see our piece on grouting vs. caulking. And if a repair has grown into a larger renovation that may require professional involvement, our article on hiring a tradesperson covers what to ask and verify before work begins.
3–4 hrs
Typical active time for a standard patch repair
Most small-to-medium drywall repairs require only a few hours of hands-on work spread across 2–3 days to allow compound to dry fully between coats.
24 hrs
Recommended drying time between compound coats
General industry guidance suggests allowing each coat of drying-type joint compound to cure fully before sanding or applying the next layer, with humidity and temperature affecting actual dry time.
The content provided on our blog site traverses numerous categories, offering readers valuable and practical information. Readers can use the editorial team’s research and data to gain more insights into their topics of interest. However, they are requested not to treat the articles as conclusive. The website team cannot be held responsible for differences in data or inaccuracies found across other platforms. Please also note that the site might also miss out on various schemes and offers available that the readers may find more beneficial than the ones we cover.