

Option A
Grout
The rigid, load-bearing filler for tile fields and joints.
Best for: Best for filling the joints between tiles on flat, stable surfaces like floors and walls.
Option B
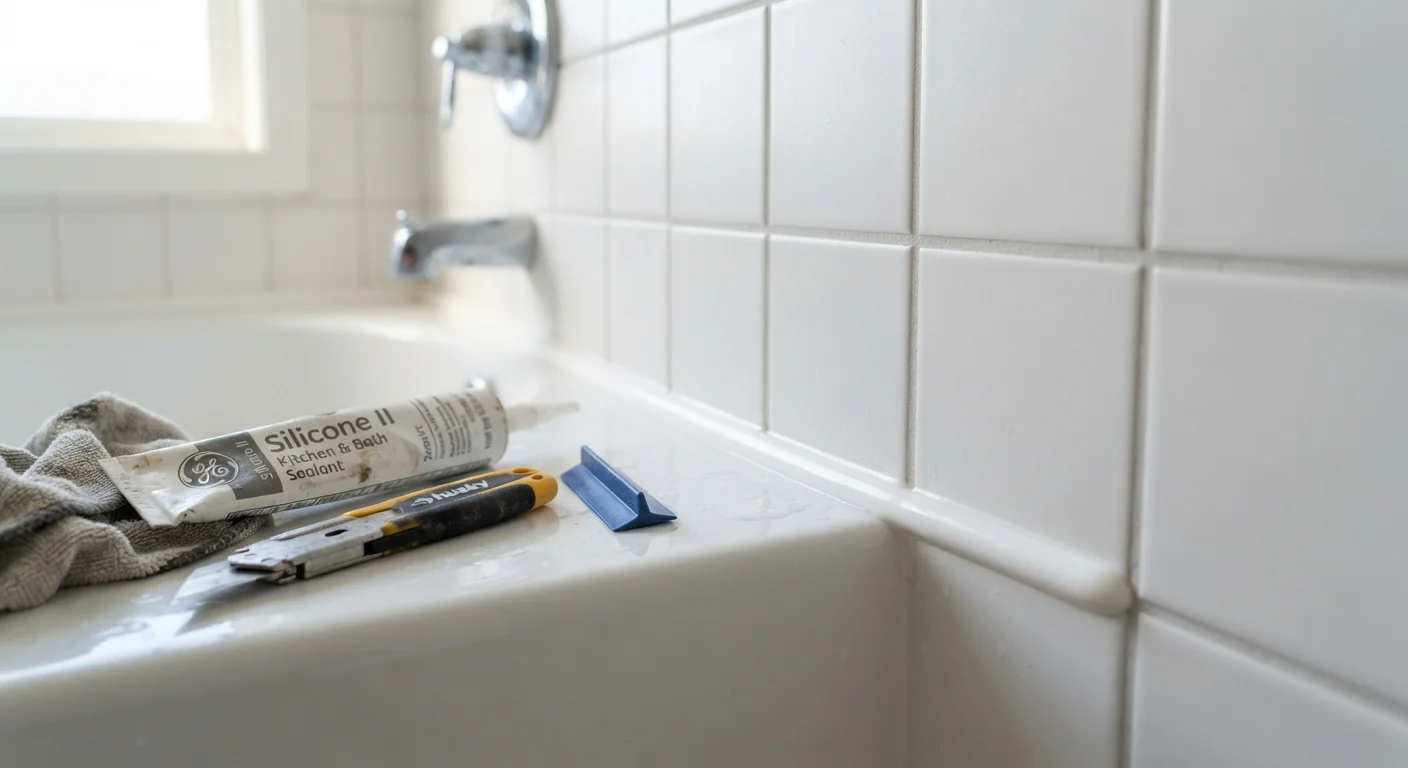
Caulk
The flexible sealant for movement-prone joints and transitions.
Best for: Best for sealing edges, corners, and transitions between different materials that shift or flex.
Why This Choice Matters More Than It Looks
From a few feet away, grout and caulk can look nearly identical — both fill the gaps between tiles, both come in similar colors, and both contribute to a finished appearance. But they are fundamentally different materials engineered for different jobs. Choosing the wrong one for a specific location isn't just a cosmetic mistake — it's a common source of water damage, mold growth, and failed repairs.
Grout is a cement-based (or epoxy-based) compound that cures hard and rigid. It is designed to lock tile joints together on stable, continuous surfaces. Caulk is a flexible sealant — typically silicone or latex — that stays slightly pliable after curing. That flexibility is its defining feature. Understanding why each material behaves the way it does makes every decision clearer.
| Criterion | Grout | Caulk |
|---|---|---|
| Composition | Cement- or epoxy-based | Silicone or latex polymer |
| Flexibility after cure | Rigid | Slightly pliable |
| Best location | Between tiles on flat, stable surfaces | Corners, edges, and material transitions |
| Handles movement | No — cracks under stress | Yes — designed for flexing joints |
| Waterproofing | Moderate (requires sealing) | High, especially silicone |
| Paintable | Yes (when dry) | Latex yes; silicone no |
| Typical repair difficulty | Moderate (requires grout saw) | Low (knife removal, reapply) |
Where Grout Belongs — and Where It Fails
Grout is the correct filler for the joints between tiles on a flat, structurally stable surface — think the field of a tile floor, a backsplash, or a shower wall that shares a single continuous plane. In these locations, the substrate doesn't flex significantly, and grout's rigidity holds tiles evenly spaced while resisting surface wear and routine cleaning.
However, grout fails in predictable ways when placed at certain joints. The most common example is the joint where a tile wall meets a bathtub or shower pan. That joint undergoes constant stress: the tub flexes slightly with weight, temperature changes cause expansion and contraction, and the two surfaces are made of different materials moving at different rates. A rigid grout joint in this location will crack — often within months. Once cracked, water works its way behind the tile, and the damage can be significant by the time it's visible.
#1
Source of bathroom water damage claims
Failed caulk and grout joints at tub and shower surrounds are consistently cited by home inspectors as a leading entry point for water intrusion behind tile.
24–48 hrs
Caulk cure time before water exposure
Most silicone and latex caulks require a full 24 to 48 hours of cure time before the joint should be exposed to water, per typical manufacturer guidance.
Where Caulk Belongs — and What Makes It Different
Caulk belongs anywhere two surfaces meet at a change of plane or material. The most critical locations in a typical bathroom include:
- The joint where the tub or shower base meets the tile wall
- All inside corners of a tiled shower
- Where a countertop meets a backsplash
- The perimeter where tile meets a window frame, door frame, or flooring transition
Silicone caulk offers the strongest waterproofing and handles the most movement — it's the standard choice for wet areas. Latex (acrylic) caulk is easier to tool and paint over, making it a good fit for drier locations like baseboard transitions. Many manufacturers produce grout-matched caulk in dozens of colors, so there's rarely a visual reason to use grout where caulk is required.
Check for Color-Matched Caulk First
Before defaulting to grout in a corner or transition because you want the colors to match, check the grout manufacturer's product line. Many major grout brands offer a corresponding caulk in the same color family. Using color-matched caulk at inside corners and tub edges is standard practice in professional tile installation — it's the correct approach, not a workaround.
Fixing the Wrong Call: When Grout Has Been Used Instead of Caulk
If you notice cracking along your tub edge or shower corners, there's a good chance grout was applied where caulk should be. The repair process is straightforward:
- Remove the old grout completely. Use an oscillating tool with a grout-removal blade, a manual grout saw, or a utility knife. Work carefully to avoid scratching tile surfaces.
- Clean and dry the joint thoroughly. Any moisture or residue will prevent the caulk from adhering properly. Allow at least 24 hours for the area to dry fully.
- Apply painter's tape along both tile edges for a clean line.
- Apply caulk in a steady, continuous bead and smooth it with a wetted finger or a caulk-finishing tool.
- Remove the tape before the caulk skins over, then allow full cure time per the manufacturer's instructions — typically 24 to 48 hours before water exposure.
This kind of careful material selection applies broadly to home repairs. If you're working on other surfaces around the home, our guide to drywall repairs that actually hold walks through similarly overlooked decisions that separate lasting fixes from those that fail prematurely.
The content provided on our blog site traverses numerous categories, offering readers valuable and practical information. Readers can use the editorial team’s research and data to gain more insights into their topics of interest. However, they are requested not to treat the articles as conclusive. The website team cannot be held responsible for differences in data or inaccuracies found across other platforms. Please also note that the site might also miss out on various schemes and offers available that the readers may find more beneficial than the ones we cover.